
How to Create a Zone for Any Activity at Home
How to Create a Zone for Any Activity at Home
Start with the activity
To create a zone, choose one activity you want a particular area to support, such as paying bills, studying, reading, or preparing meals, and consider where you naturally do it. Think about how much surface space, seating, light, and storage you need, then select a spot that makes the activity convenient without blocking a doorway or a frequently used path.
Gather what belongs in the zone
Bring together the supplies you use regularly for that activity and give them accessible places within or near the area; for example, a study zone might hold a notebook, pens, a task light, and a place for a laptop. Move unrelated items elsewhere when possible, and use a tray, basket, drawer, or shelf to keep smaller supplies together rather than spreading them across the work surface.
Featured in this guide
The Ultimate Checklist for Creating Activity Zones | Printable Home & Office Organization Guide | How to Create Zones for Different Activities | Digital Download
Define the space
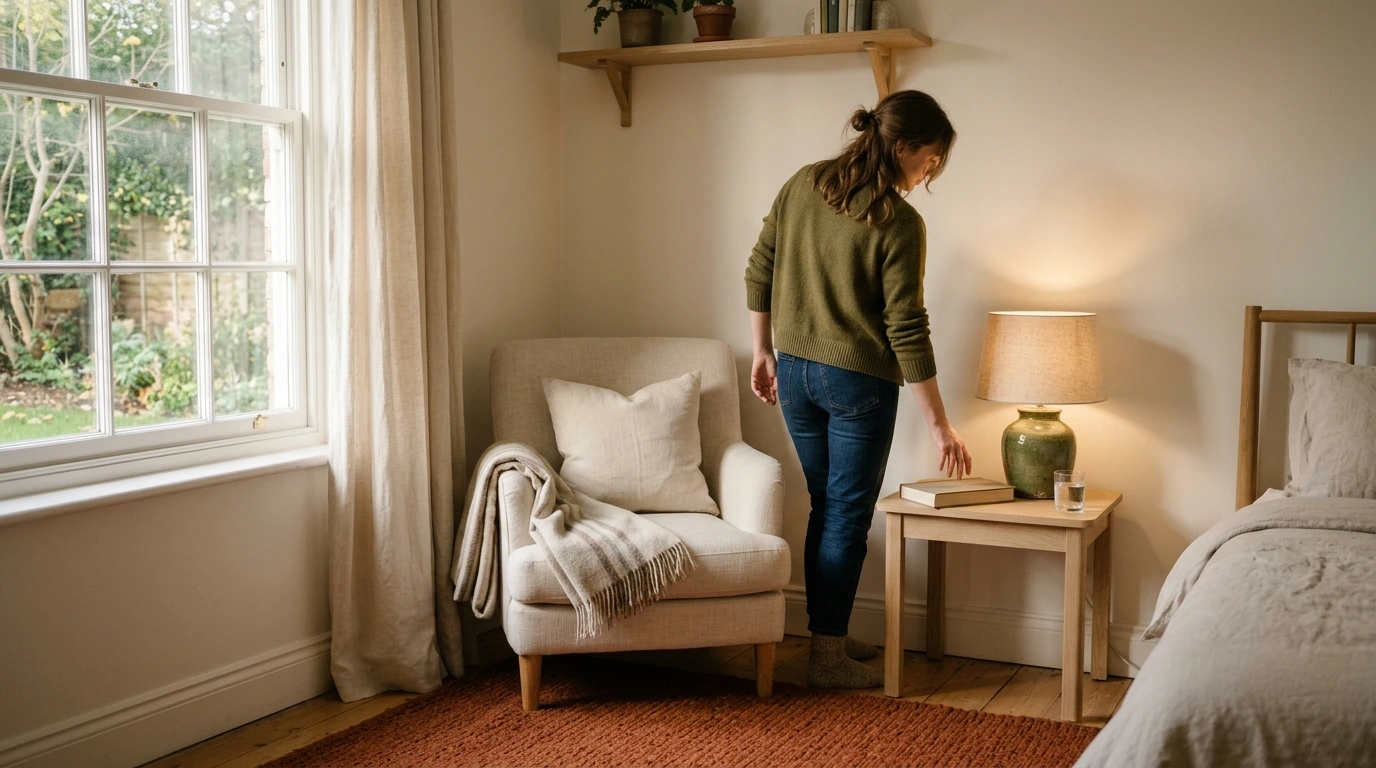
You do not need a separate room to make a zone: a desk can mark a work area, a chair and lamp can establish a reading spot, or a section of a kitchen counter can become a meal-planning station. In a shared or compact space, use furniture placement, a rug, a labeled container, or a cleared shelf to show where one activity ends and another begins while keeping walkways open.
For the full product context, see the main Owleys guide.
FAQ
Can you give me some examples of zones?
A home office might have a focused work zone at a desk and a separate supply zone on a nearby shelf, while a living room could include a reading zone with a chair and lamp. You can also create a homework zone at one end of a dining table or a meal-planning zone with a calendar and notebook in the kitchen.
See if The Ultimate Checklist for Creating Activity Zones | Printable Home & Office Organization Guide | How to Create Zones for Different Activities | Digital Download fits your setup


Leave a comment